🌲공식문서
시작하기 | Vue.js
시작하기 NOTE 이미 Vue 2를 알고 있고 Vue 3의 새로운 점을 배우고 싶으신가요? Migration Guide를 확인하세요! Vue.js가 무엇인가요? Vue(/vjuː/ 로 발음, view 와 발음이 같습니다.)는 사용자 인터페이스를
v3.ko.vuejs.org
🌲Installation
🌳CDN방식
HTML에 Script소스코드를 삽입해 사용하는 방법
See the Pen Untitled by kim so wol (@siot0) on CodePen.
🌳CLI방식
터미널에서 전역으로 설치하는 방법
$ npm i -g @vue/cli
🌵Vue 명령어로 새로운 프로젝트 생성하기
1. vue create 폴더명
$ vue create hello-vue
2. 생성이 완료되면 Vue 버전 선택

3. 기본 명령어
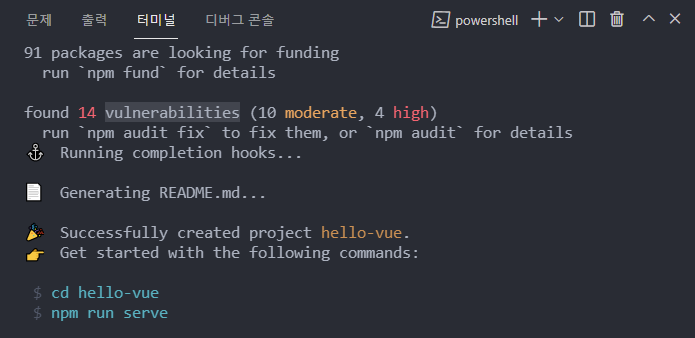
cd hello-vue : 디렉토리가 hello-vue로 생성되었고
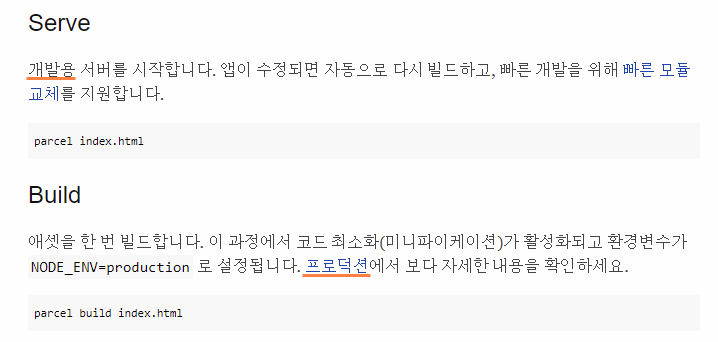
npm run serve : serve라는 키워드로 개발자모드를 열 수 있다.
*vulnerabilities취약점이 14개나 발견되었다는데 왜때문인지 모르겠네
4. 새로 생성한 프로젝트를 불러오면
*vue cli는 기본적으로 webpack번들러를 사용
*lint
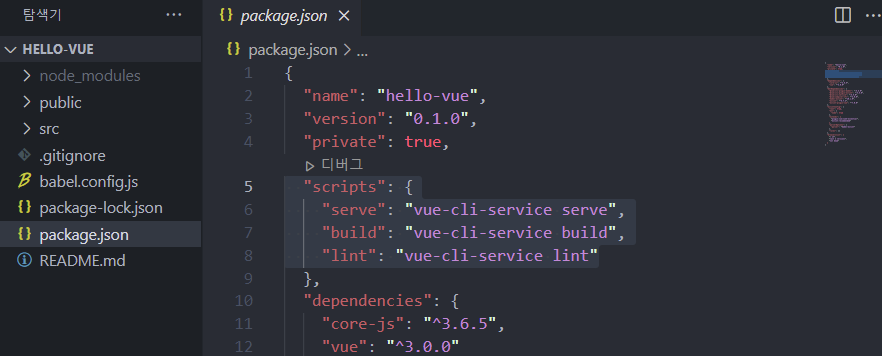
(package.json)
{
"name": "hello-vue",
"version": "0.1.0",
"private": true,
"scripts": {
"serve": "vue-cli-service serve",
"build": "vue-cli-service build",
"lint": "vue-cli-service lint"
},
"dependencies": {
"core-js": "^3.6.5",
"vue": "^3.0.0"
},
"devDependencies": {
"@vue/cli-plugin-babel": "~4.5.0",
"@vue/cli-plugin-eslint": "~4.5.0",
"@vue/cli-service": "~4.5.0",
"@vue/compiler-sfc": "^3.0.0",
"babel-eslint": "^10.1.0",
"eslint": "^6.7.2",
"eslint-plugin-vue": "^7.0.0"
},
"eslintConfig": {
"root": true,
"env": {
"node": true
},
"extends": [
"plugin:vue/vue3-essential",
"eslint:recommended"
],
"parserOptions": {
"parser": "babel-eslint"
},
"rules": {}
},
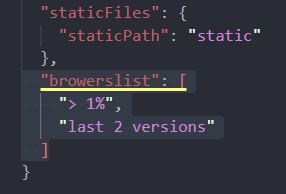
"browserslist": [
"> 1%",
"last 2 versions",
"not dead"
]
}
🌵Vue CLI 공식문서
Vue CLI
cli.vuejs.org
🌲Webpack template
🌳installation
1. 기본적인 vue 문법해석 설치
$ npm i vue@next*@next : 최신 버전으로 설치
2. 관련 패키지 설치
vue-style-loader : vue파일의 style태그를 해석
@vue/compiler-sfc : 브라우저에서 vue파일이 작동하도록 변환
$ npm i -D vue-loader@next vue-style-loader @vue/compiler-sfc
3. webpack.config.js에서 module과 plugins 추가
const { VueLoaderPlugin } = require('vue-loader')

module: {
    rules: [
      { test: /\.vue&/, use: 'vue-loader' },
      {
        test: /\.s?css$/,
        use: [ 'vue-style-loader', 'style-loader', 'css-loader', 'postcss-loader', 'sass-loader' ]
      }

plugins: [ new VueloaderPlugin() ]
🌳import
1. main.js파일에서 vue파일 연결하기 (html에서도 #app부분 삽입 필요)
import { createApp } from 'vue'
import App from './App'

createApp(App).mount('#app')
🌵 resolve.extensions
js파일에서 확장자없이 import하는 webpack.config.js옵션
module.exports = {
   resolve: {
    extensions: ['.js', '.vue']
   }
🌳components
1. 경로 별칭이란?
지칭하는 경로로 바로 점핑
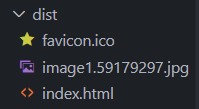
1-1. file-loader
이미지파일과 같은 특정한 파일을 읽어 브라우저에서 동작시키는 패키지 설치 필요
$ npm i -D file-loader
// webpack.config.js

module: {
    rules: [
      {
        test: /\.(png|jpe?g|gif|webp|svg)$/,
        use: 'file-loader'
      }
    ]
  },
1-2. 경로 별칭 사용법
alias옵션에서 원하는 이름(~ 또는 assets)에 해당 경로를 지정하여 사용할 수 있다.
module.exports = {
   resolve: {
    extensions: ['.js', '.vue'],
    alias: {
      '~': path.resolve(__dirname, 'src'),
      'assets': path.resolve(__dirname, 'src/assets')
    }
<img src="~assets/favicon.png" alt="">
🌵components
HelloWorld란 이름으로 컴포넌츠 만들어 사용하는 예시
// App.vue

<template>
  <h1>{{ message }}</h1>
  <HelloWorld />
</template>

<script>
import HelloWorld from '~/components/HelloWorld'

export default {
  components: {
    HelloWorld
  },
  data() {
    return {
      message: 'Hello!!'
    }
  }
}
</script>
🌲vuejs의 반응성
🌵 Vue.js의 구성
SFC(Single file Component) 단일 파일 컴포넌트는 template, script, style로 구성되어 있다.
template는 html, script는 js, style는 css(scss)를 작성한다. template, script에서는 vue문법으로 작성한다.
🌲반복문과 조건문
디렉티브 v-를 이용해 표현
🌳반복문
fruits 배열 안에 있는 데이터 수만큼 반복하여 fruit를 list형태로 배열
<template>
  <ul>
    <Fruit
    v-if="fruit in fruits"
    :key="fruit"
    :name="fruit">
      {{ fruit }}
    </Fruit>
  </ul>
</template>


<script>
export default {
  data() {
    return {
      fruits: [ 'Apple', 'Banana', 'Cherry']
    }
  }
</script>
🌳조건문
count의 기본값 0에서 시작하여 h1을 클릭할 때마다 1씩 증가, count가 4보다 커지면 '4보다 크다'
<template>
  <h1 @click="increase">{{ count }}</h1>
  <div v-if="count > 4">
    4보다 크다
  </div>
</template>

<script>
export default {
  data() {
    return {
      count: 0
  },
  methods: {
    increase: function () {
      this.count += 1
    }
  }
}
</script>
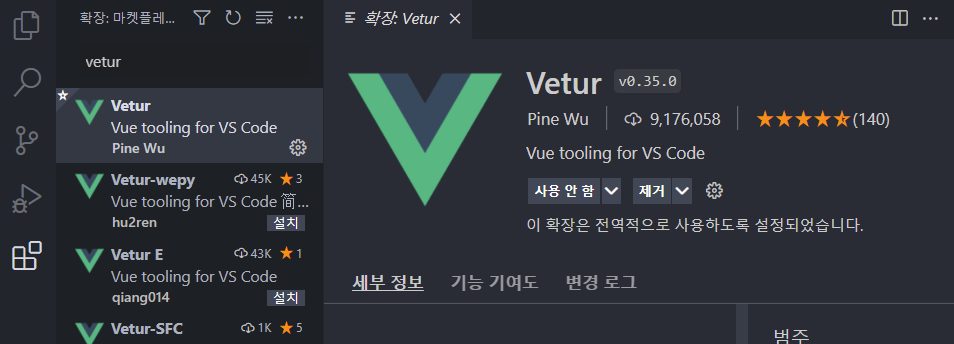
🌲vetur
vue코드의 하이라이팅을 만드는 VScode 확장프로그램
'FE' 카테고리의 다른 글
| Vue.js 템플릿 기본 문법 - 보간법, 디렉티브(동적 전달인자) (0) | 2021.12.11 |
|---|---|
| Vuejs 컴포넌트 연결하는 방법 (0) | 2021.12.11 |
| Vue.js ESLint 문법검사 구성 (0) | 2021.12.06 |
| NPX degit과 git clone의 차이점 (0) | 2021.12.05 |
| 번들러 webpack 플러그인 사용법 (0) | 2021.12.05 |